Automating Agreement Generation from Power App and Word, with Signatures in Microsoft Teams Channel.
- Nov 7, 2023
- 3 min read
Today, we'll explore how to use the Power Automate template "Generate agreement from Power App and Word, send for signature" to streamline your agreement generation and signature process. Using this Power Automate you can automate the creation of agreements from a Power App using Microsoft Word and then send them for electronic signatures. Let's get started with the step-by-step guide:
Step 1: Access the Power Automate Template
Navigate to the Microsoft Power Automate template page for "Generate agreement from Power App and Word, send for signature."

Step 2: Select the Template
Click on the "Use this template" button to begin the process. You'll be directed to sign in with your Microsoft account if you haven't already.
Please kindly input your work email address and select the Sign-in button. Following this, you will be prompted to address all the connection references to continue further. Kindly resolve all the connection references listed on this page.
SharePoint
Adobe Acrobat Sign
Microsoft Teams
Adobe PDF Services (Please refer to my existing blog to get the credentials for the PDF Services API - https://www.d365dotblog.com/post/steps-to-register-and-obtain-credentials-for-accessing-the-adobe-pdf-service-api)

Once you have resolved the connection references, please proceed by clicking on the "Continue" button.
Step 3: Configure the Trigger
Next step is to configure the trigger based on your requirements. In this template, the trigger is set to "Power Apps," which means the flow will be triggered when a new item is created in the Power App.
Step 4: Connect Power Apps
Connect the Power App that you want to use for creating the agreement. Follow the instructions provided to establish the connection securely.

Step 5: Create the word template.
Next, configure the action to "Create template" in SharePoint. Customize the file name and content to match your agreement requirements. You can use dynamic content from the trigger step to personalize the document.
Step 6: Get SharePoint file content using path.
· Site Address: Enter the URL of your SharePoint site.
· File Path: Use the specific file path of the file you want to retrieve.
Get file metadata using path:
· Site Address: Enter the URL of your SharePoint site.
· File Path: Provide the specific file path of the file for which you want to retrieve metadata.

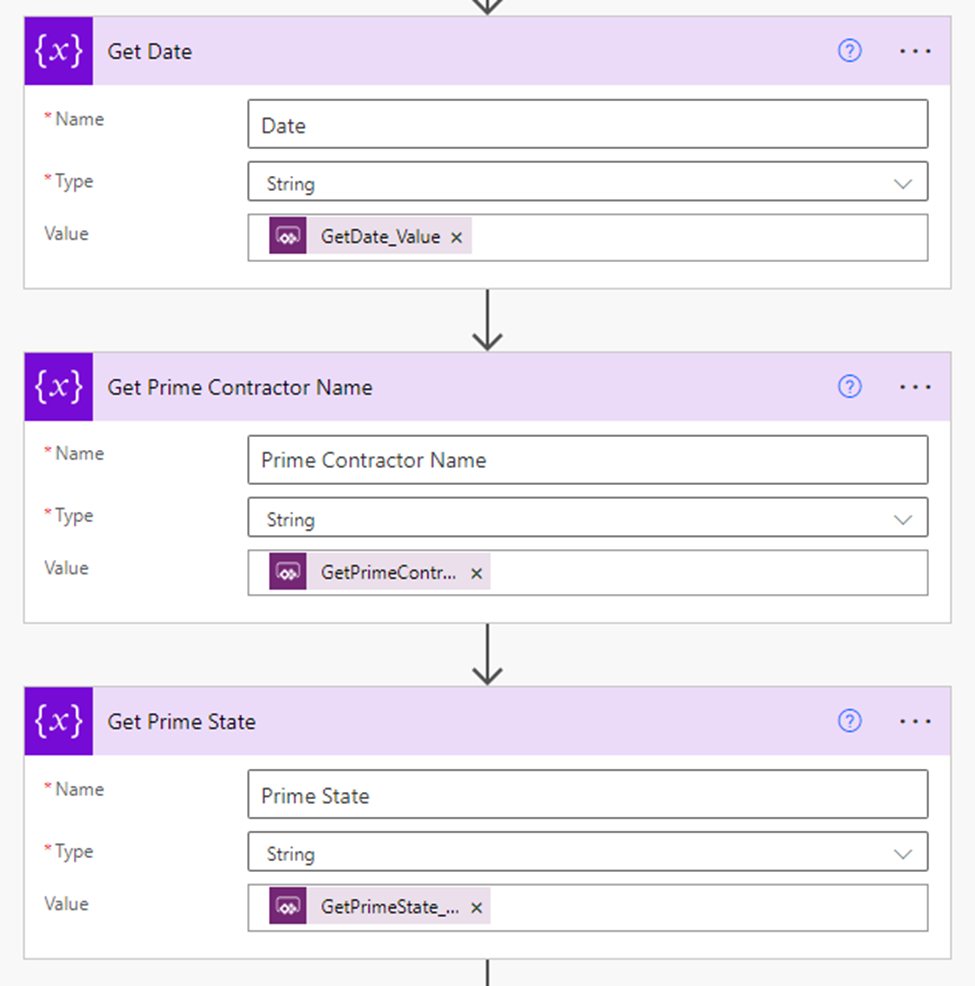
Step 7: Prepare Agreement Details
Next step is to prepare the agreement details to generate the PDF file from the word template.


Once you have completed the preceding steps, it is now time to generate the PDF using the Word template stored in the SharePoint folder, incorporating all the above agreement details.
Include the required agreement specifics within the "Generate document from Word template" connector provided in Adobe PDF services as below:

After the document is generated, proceed to upload it and retrieve the document ID in the following manner:

Step 8: Create an agreement from an uploaded document and send for signature.
Next, we will proceed to generate the agreement using the uploaded document and send it for signature. Kindly furnish all the essential details, including the Agreement Name, Document ID, Signature Type, Participant's Email Address, and any other pertinent information.

Step 9: Save the generated agreement in SharePoint and Push message in Microsoft Teams channel.
Use the "Create file" action to save the generated agreement in the desired SharePoint document library or folder.
Configure the action with the necessary details such as the SharePoint site address, folder path, and the content of the agreement.

Utilize the "Post a message as the Flow bot to a channel" action to send a message to the specified Microsoft Teams channel.
Select the appropriate Team, channel and Provide the essential information in the message, including details about the generated agreement and any other relevant context or instructions.

Step 10: Test the Flow
Before finalizing the setup, it's essential to test the flow to ensure all components are working correctly. Create a test entry in the Power App to trigger the flow and verify if the Word document is generated and sent for signature as expected.
Step 11: Finalize and Activate
Once you're satisfied with the testing results, finalize the flow setup and activate it to start automating your agreement generation and signature process.
Congratulations! You've successfully set up an automated agreement generation and signature process using the Power Automate template "Generate agreement from Power App and Word, send for signature."
Feel free to customize the template further based on your specific business needs and integrate additional actions or conditions as required.
That's it for now! Stay tuned for more insights on how to leverage the power of Microsoft Power Automate for enhancing your workflow efficiency.


Comments